
Topos Videography
A note to videographers: Most of these points will be familiar to you; sometimes we have to train anthropologists to shoot their own video, hence the somewhat basic nature of this document. However, it will also serve to outline our specific style requirements.
This page refers to points in A Manual for Shooting Video, available on the main resource page.
Point #1: Notice the Direction of the Light
The researcher is in charge of the interview - but you are in charge of the setup. The researcher wants his or her interview to be recorded in full at high quality, so your task is to place everyone before the talk starts. Be brisk, but decisive.
⇒ From Behind
Notice where the light is coming from in each of these interview stills:
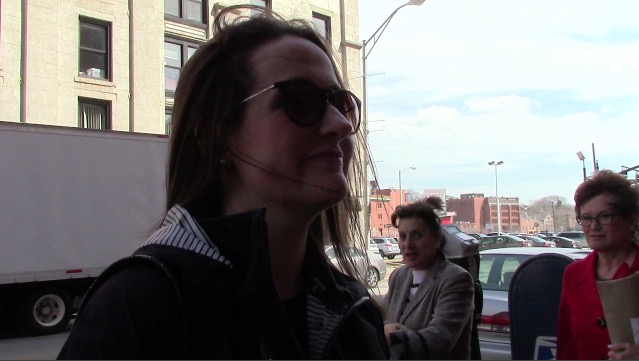
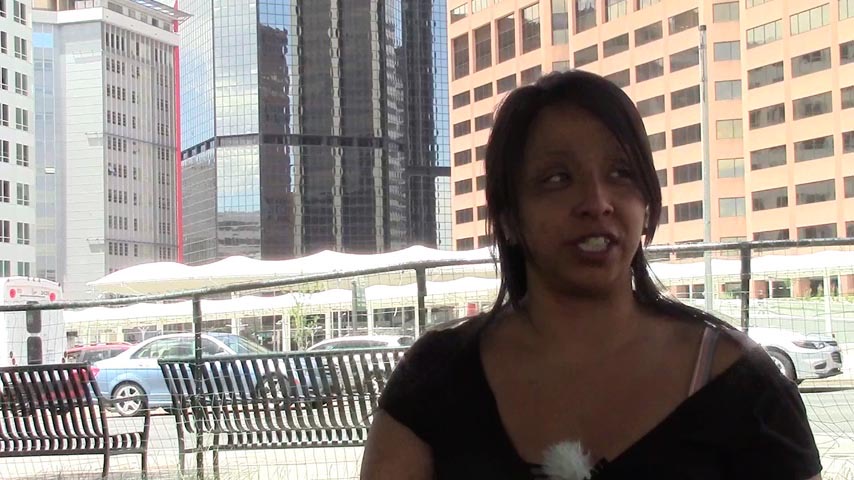
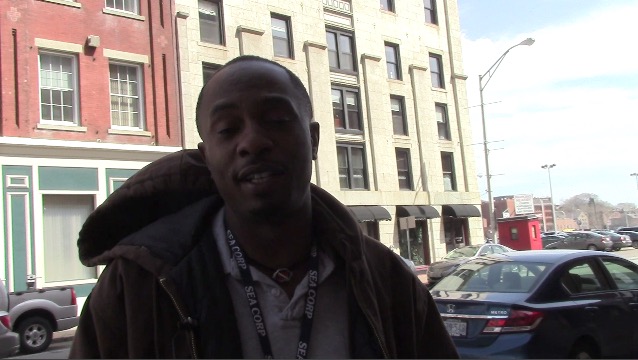
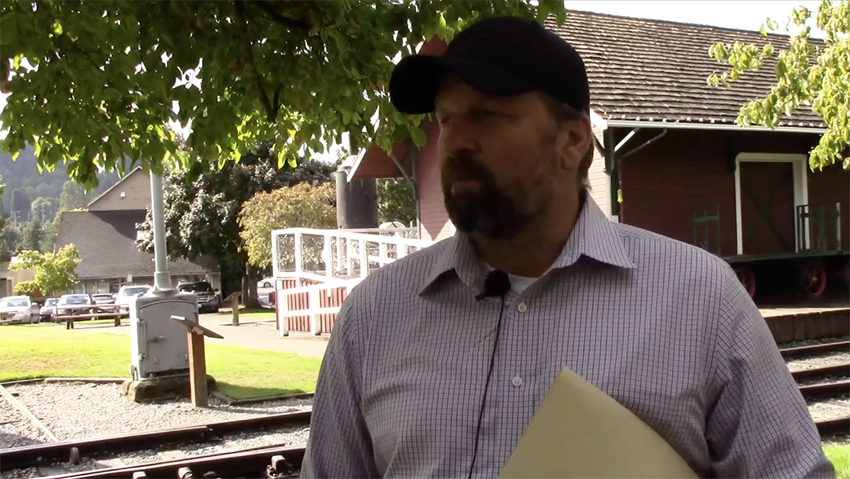
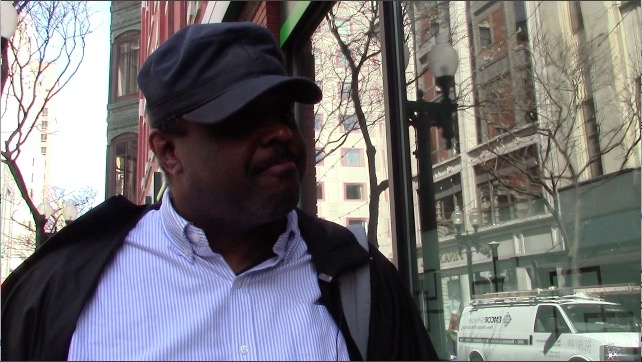
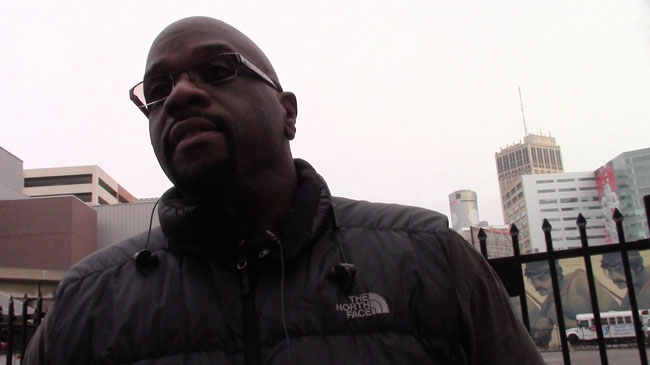
Never set up your interviews this way.
In every case, the subject has their back to the light, and we're looking at their shadow side. The brightness is *in* the frame, instead of behind the camera lighting up their face.
⇒ From the Side
Notice whether to place your researcer to the right or left side of the camera – keep in mind that the subject will be looking at them while talking. You can control their orientation to the light simply by placing everyone strategically.
These are not terrible, but see how they would have been better if the researcher had been standing the other side of camera:
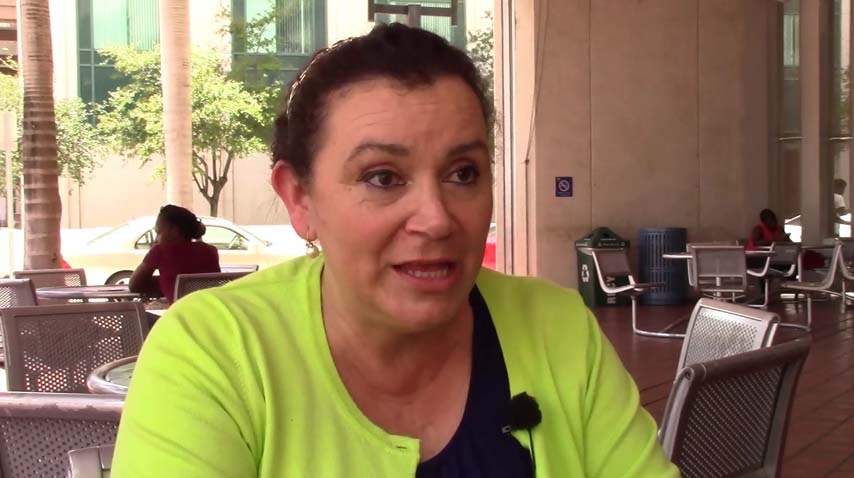
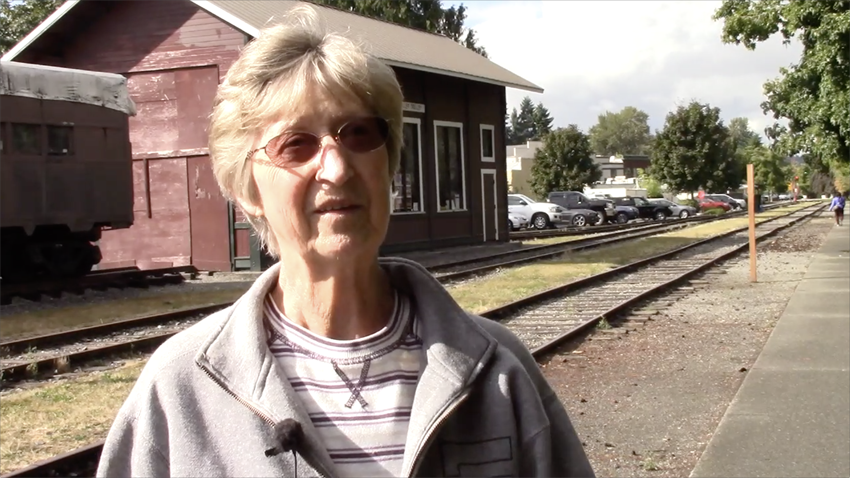
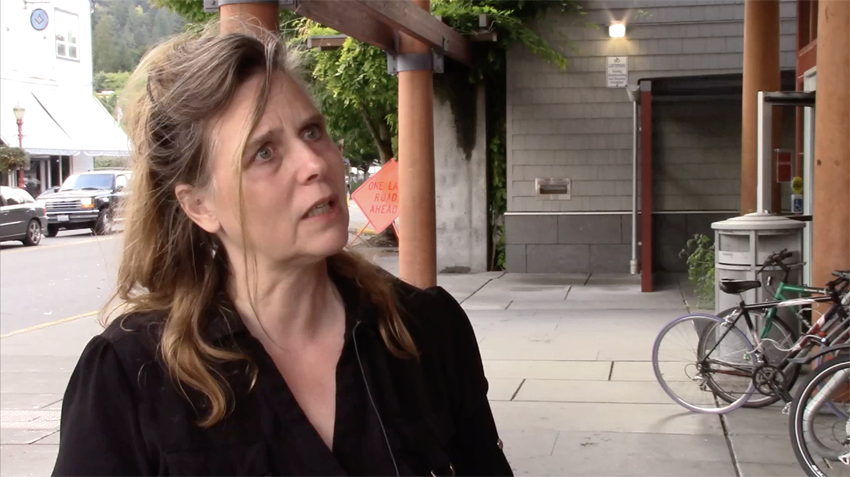
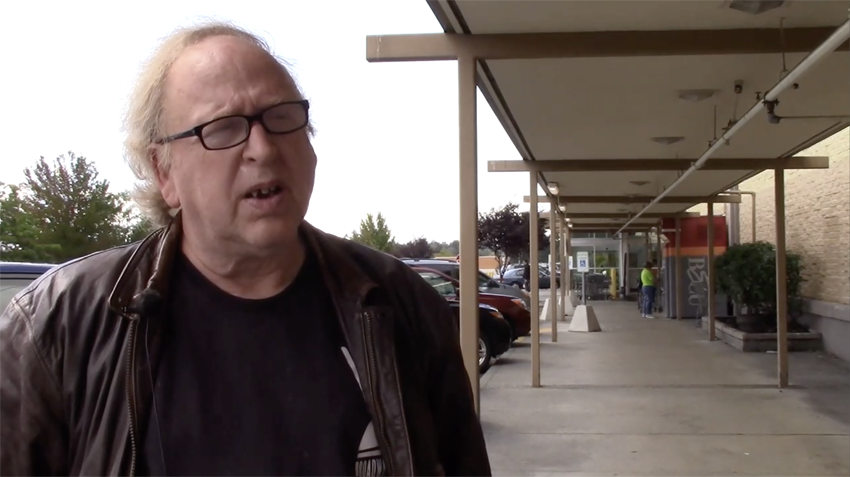
In each case, the subject looks away from the light and toward the shadow. If the researcher had simply been standing on the other side of the camera, the subject would be facing the light.
These are better-arranged setups:
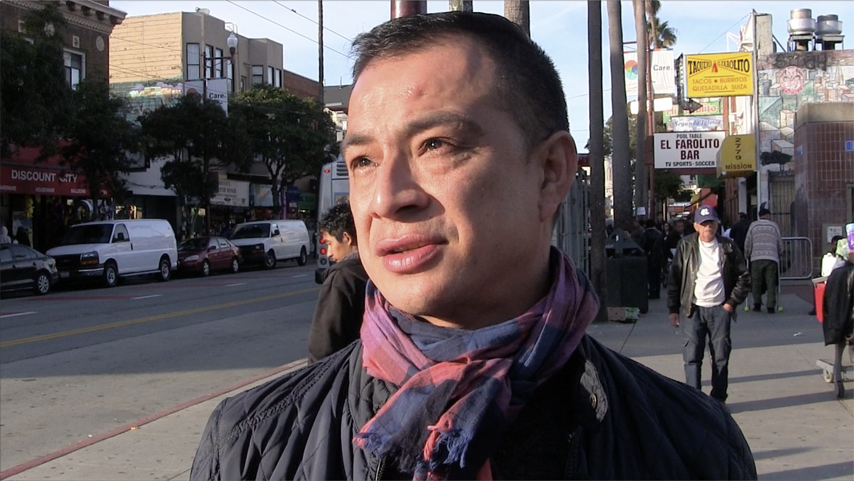
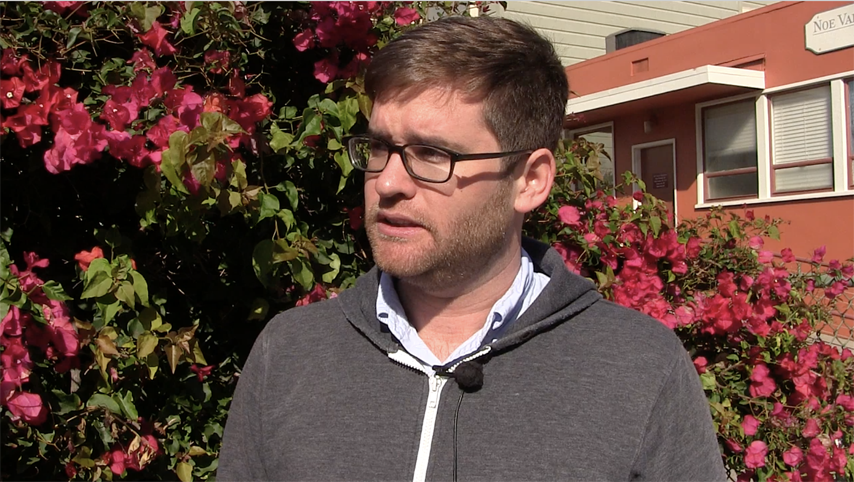
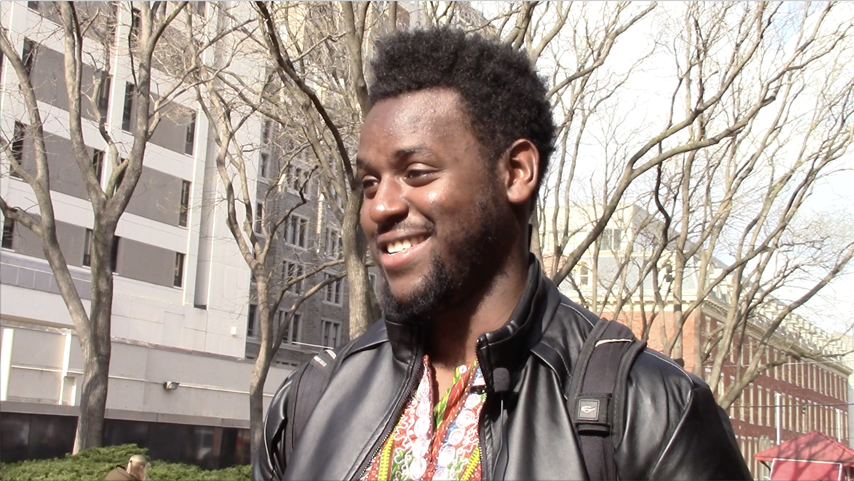
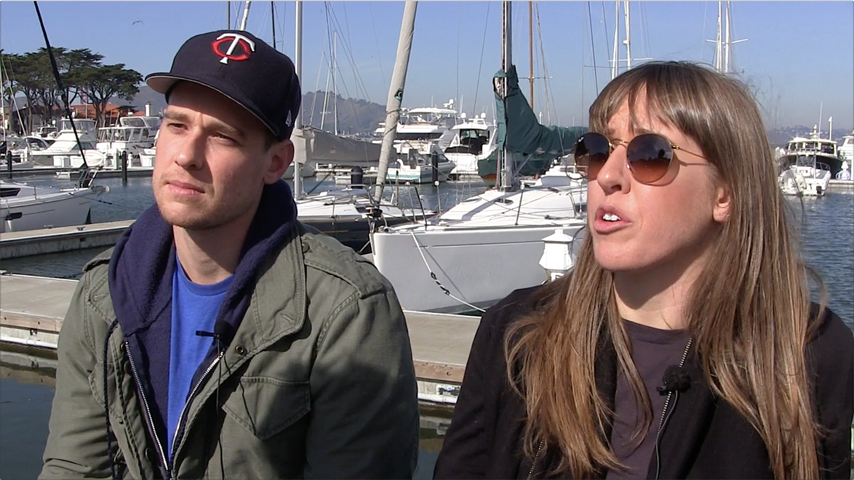
See how the light lands on everyone's face? It's better. Point your subjects toward the light, by placing the camera and your researcher strategically.
⇒ Using Backlight Effectively
Sometimes you can get away with light from behind, provided the background itself isn't too bright:
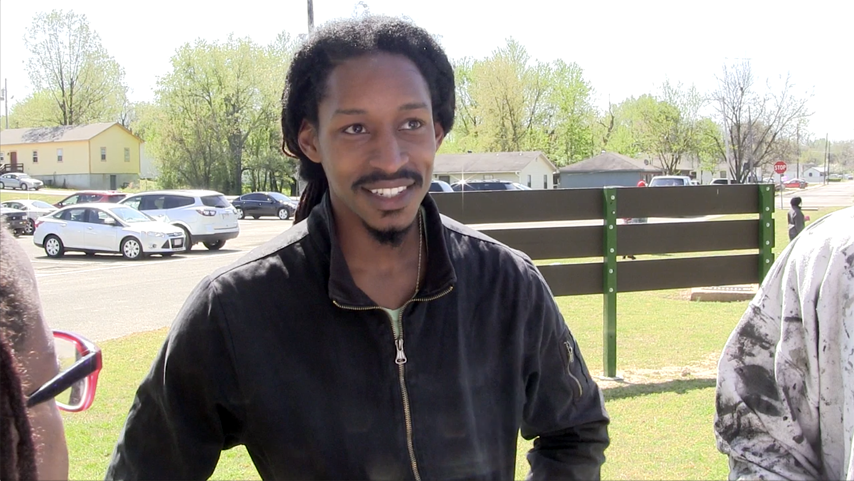
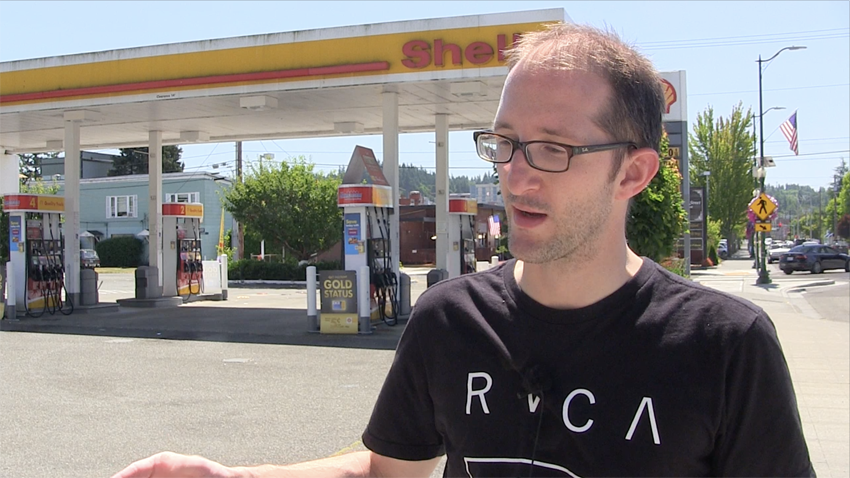
Be ready to manually override the exposure setting on your camera if necessary, and let the background go a little hot. The point is to get a good exposure on the subject's face.
Just don't ever shoot silhouettes.
Point #2: Tell Everyone Where to Stand
As soon as someone agrees to stop for an interview, look where the light is, and say "Let's turn around this way, you be there, and we'll be here, so we can get the best light on you."
Now, if your researcher starts right in with the talking before you've got things arranged properly, or if you find you've started rolling on a shot that just isn't right, this is what to do:
As you get more practiced, you'll be even quicker about it:
Eventually, noticing the direction of the light will be a reflex, and you'll put everyone in place before anything else has a chance to happen.
If there's just no way around it, and you have to shoot into the dark against the bright, be ready to work your manual exposure override. Open up the aperture a bit, let the background go hot, and let's see the subject's face.
The entire point of recording video is to have a good quality record of what's said. Sometimes someone will make a comment right out of the gate that we'll want to use in a presentation. If the camera is still being adjusted when that comment is made, then we don't have a good record of it.
Researchers are instructed to make small-talk before the interview starts in order to give you time to set things up, and to keep the subject engaged. "So, do you live in this area? Been here a long time?" That kind of thing. It's not part of the interview. It's filler to give you time to be ready to capture all the value that's to come.
You've got to be quick and efficient, but you've also got to say "Almost there," or "Hold on," to prevent the gold from slipping through your fingers.
And, some researchers are simply going to require you to say that every single time you start a new interview. So don't take it personally, just do it.
Point #7: Shoot some relevant B-roll
⇒ The Manual for Shooting Video on the resource page explains in detail what we're looking for in terms of general b-roll. Please see what it says there.
In regard to taking video of the researchers interacting with subjects, here are some examples to follow:
These were all shot after the interview was done, the demographic info was taken, and the talk continued along semi- or non-related topics.
Pretty much just keep your eye out for these opportunities and jump on them.